
Front spring installation
-jmX 12/5/2000
Tools Needed
- Spring compressor
- 2 Jack stands
- 1 Floor jack
- Misc sockets/socket wrench
- Nylon straps with hooks on end ($10 from auto store)
- Penetrating oil
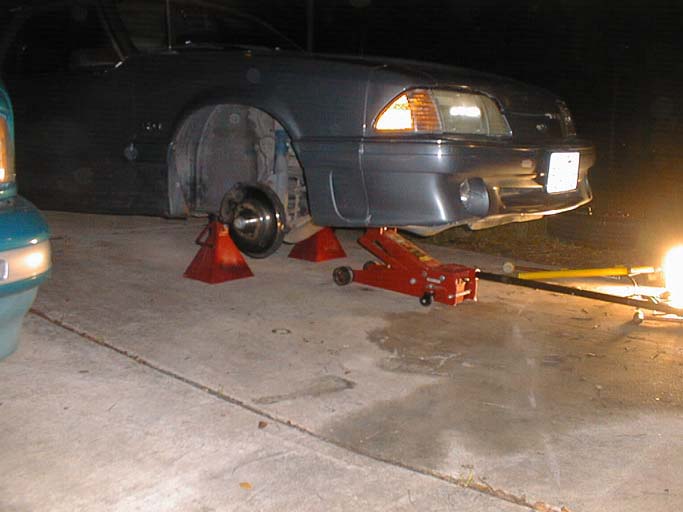
Front jacked up
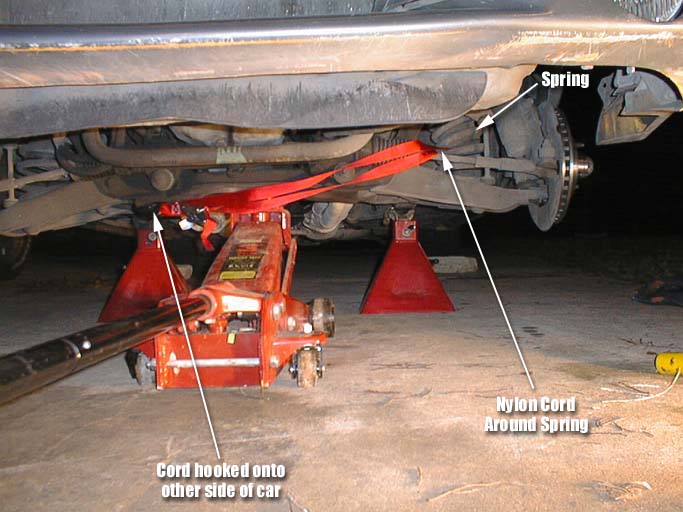
Strap spring to chassis
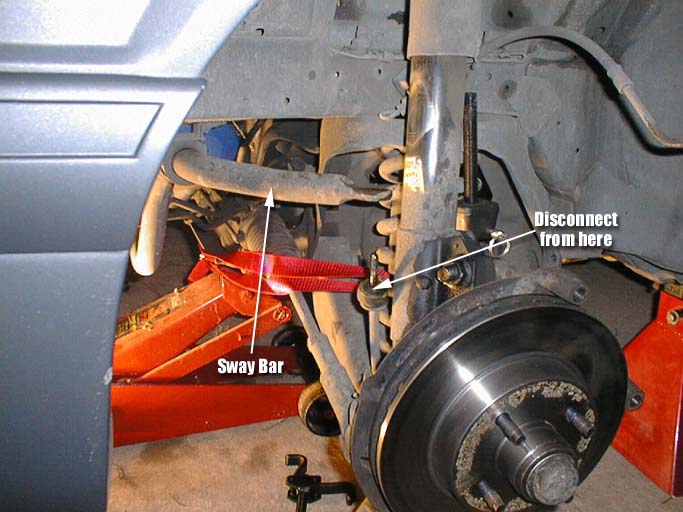
Disconnect swaybar on both sides of car.
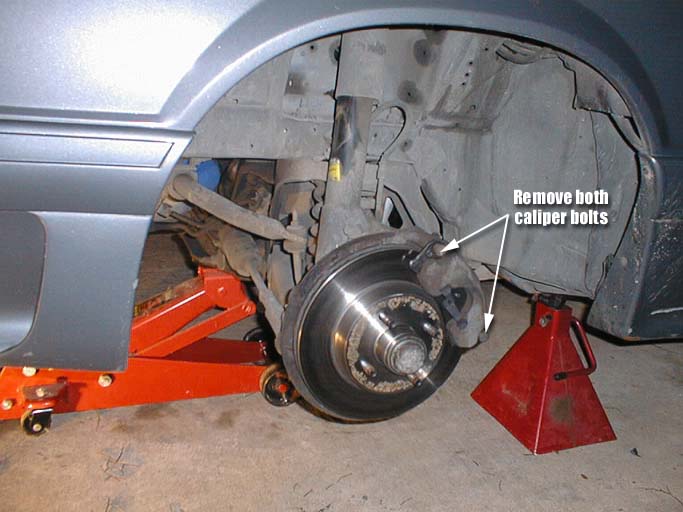
Remove caliper
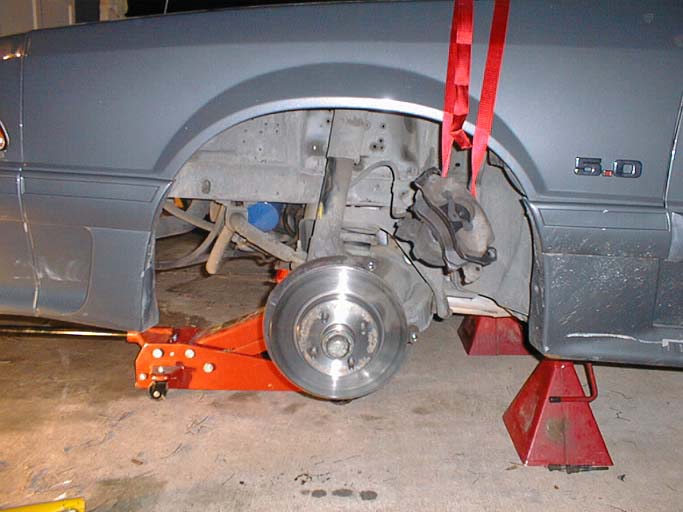
Suspend caliper out of the way..making sure not to tug hard on the rubber brake line.

Place jack under a-arm (out towards the wheel end) and raise jack so it just supports the arm. Install spring compressor and compress spring about half an inch.
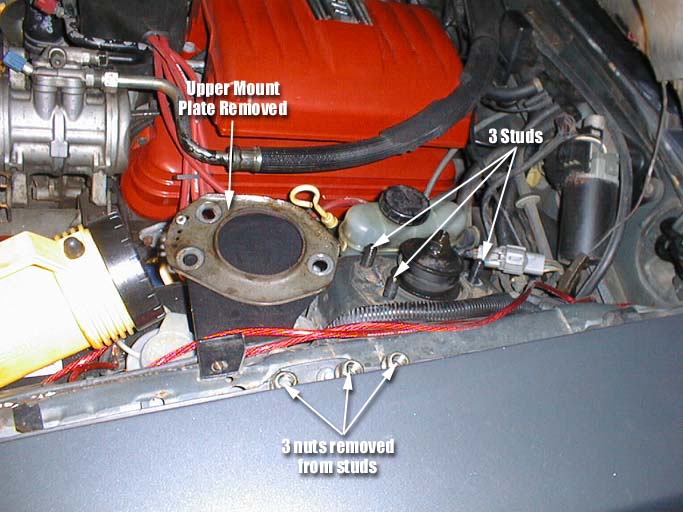
With a-arm supported by jack, unbolt the top of the strut from the mounting plate. Try spraying these nuts with penetrating oil a few minutes before you try to unscrew them.
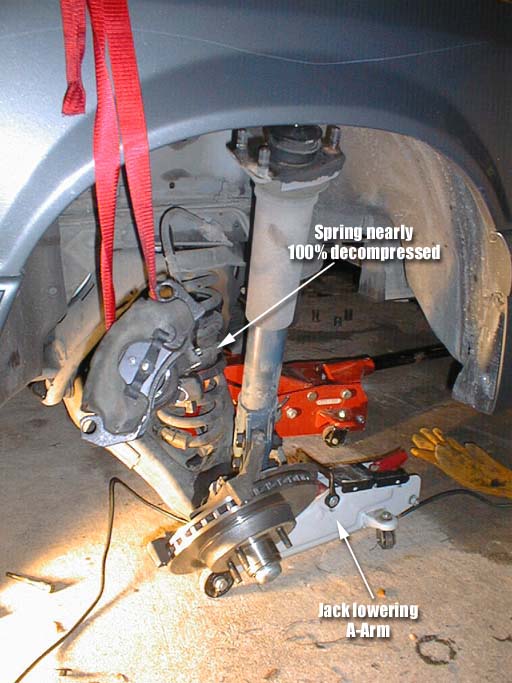
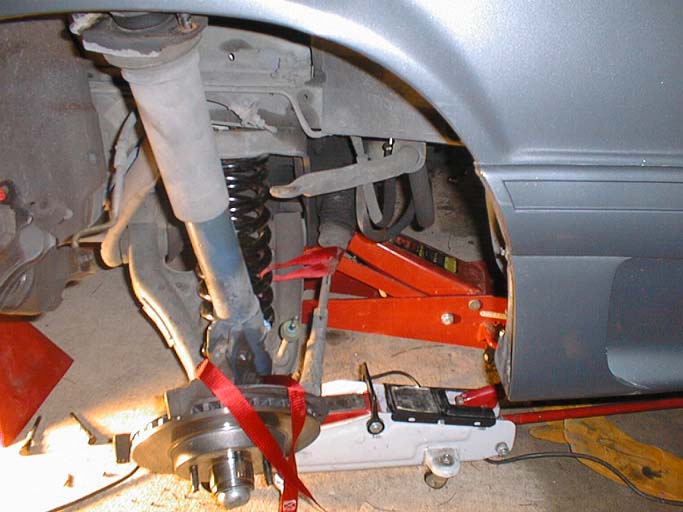
Now that strut is disconnected, SLOWLY lower jack until it is fully lowered. The spring should be almost totally decompressed. While its still strapped in, give it a shove with a long rod....I got under the opposite side of the car and poked from there. If spring doesnt easily pop out after a few shoves you can try putting another strap on the spring and tug outwards with it, or you can jack the a-arm back up and then compress the spring compressors another centimeter or two.

After you get the spring popped out, you can compare the old to the new.

Now you get to wrestle with the new springs. There should be a rubber "shoe" that was on the top of the spring...mine actually suck to the ceiling and didnt come out with the spring. With the "shoe" stuck in there (rather than on the end of my uninstalled spring), it made it a lot easier to wedge the new spring in. What I did was put the top (flat part) of the spring in first and fit it in the shoe, then press down on the a-arm as much as possible and force the bottom of the spring to go over the round spring retainer bump. You want to make sure the pigtail on the spring covers *ONE* of the drain holes on the A-Arm spring seat.
Once in, strap it to the opposite side of the cars chassis to keep it in place.
Now jack the end of the A-Arm back into place, while slowly guiding the strut back into its mounting hole. If needed, compress the strut by hand to manuever it back where it belongs.
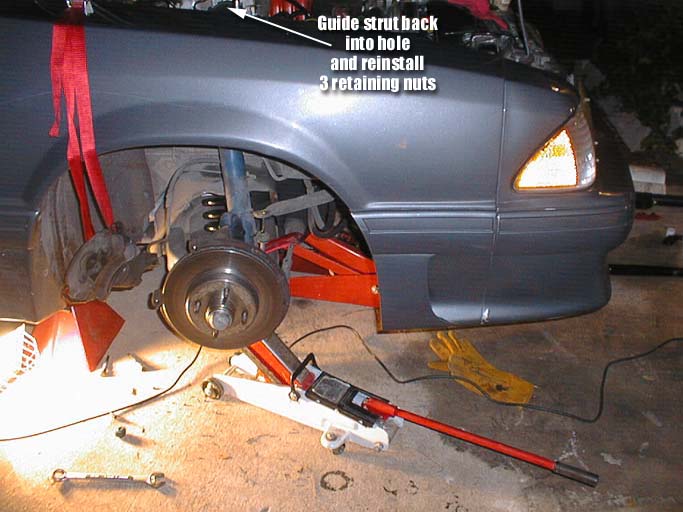
Reinstall the 3 nuts holding the strut top to the chassis. Once these nuts are torqued back down, you can lower the jack out of the way. Reinstall the claliper and you are done with one side!
Now, repeat the procedure for the other side, reconnect the front swaybar, bolt on the wheels and you're set to go!