 |
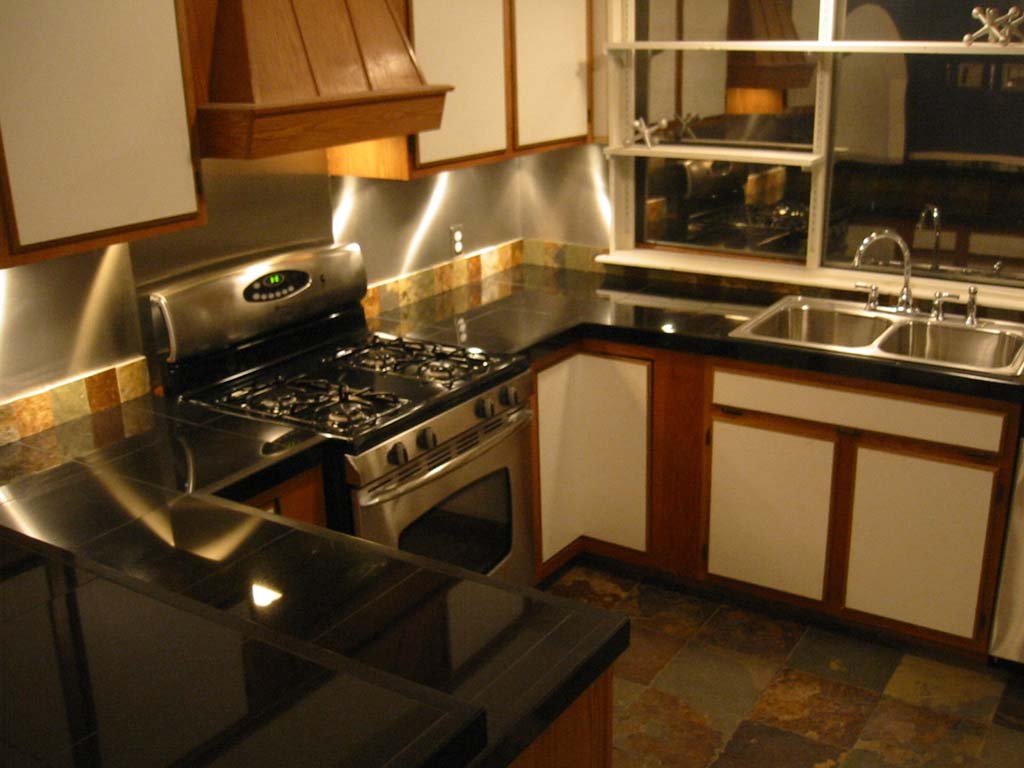 |
Table of contents- Phase 1: Slate floor and halogen underlighting- Phase 2: Black Granite countertops and new stainless sink and fauce - Phase 3: Stainless steel backsplash |
Phase 3: Stainless steel backsplash
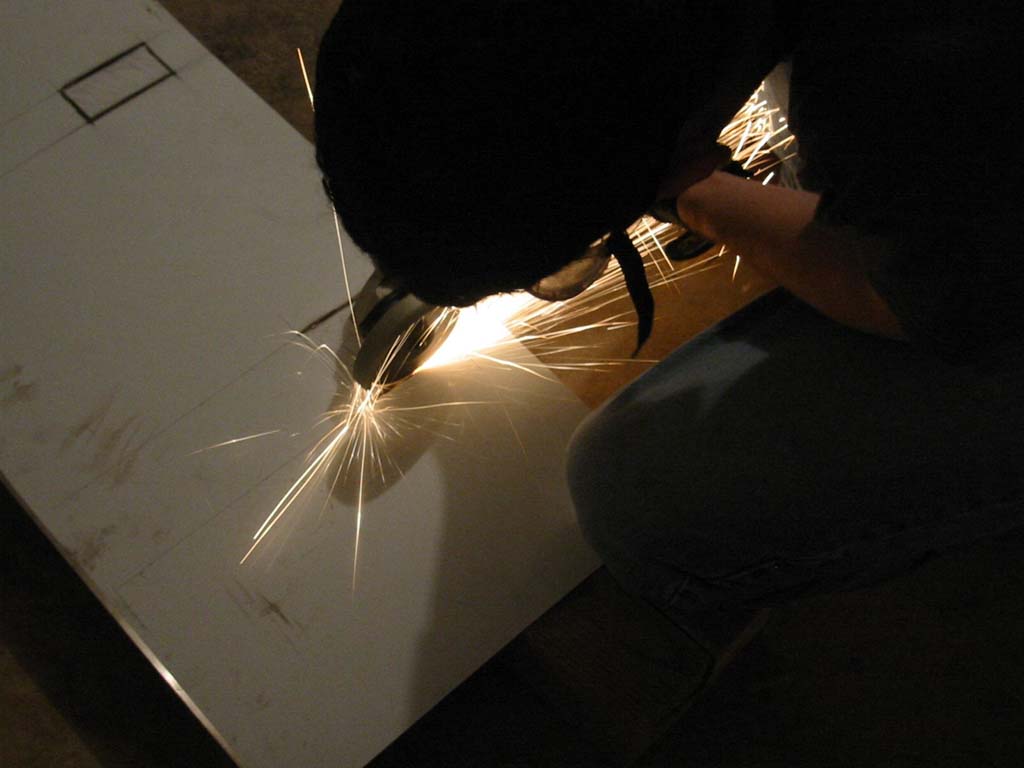 |
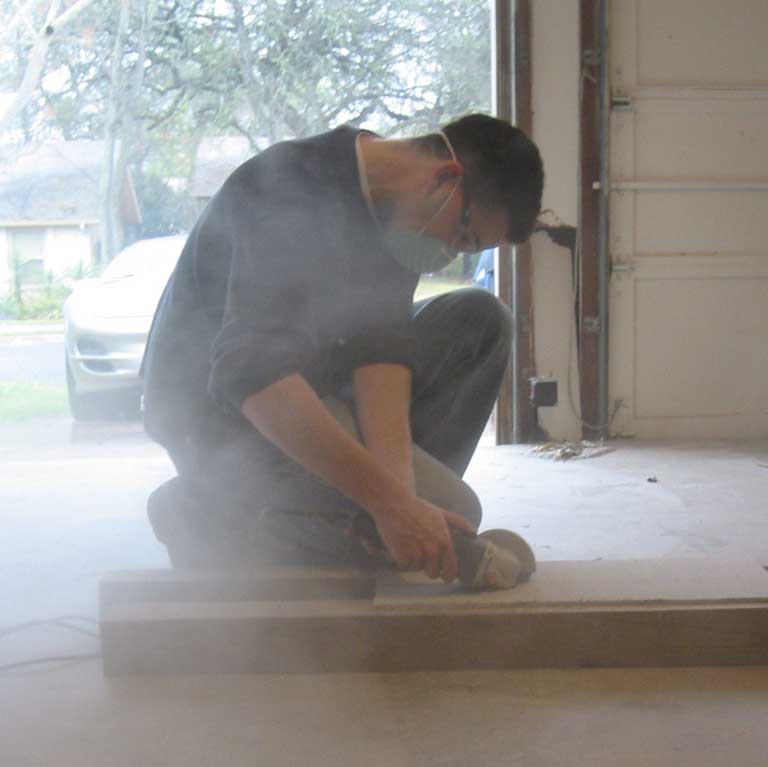
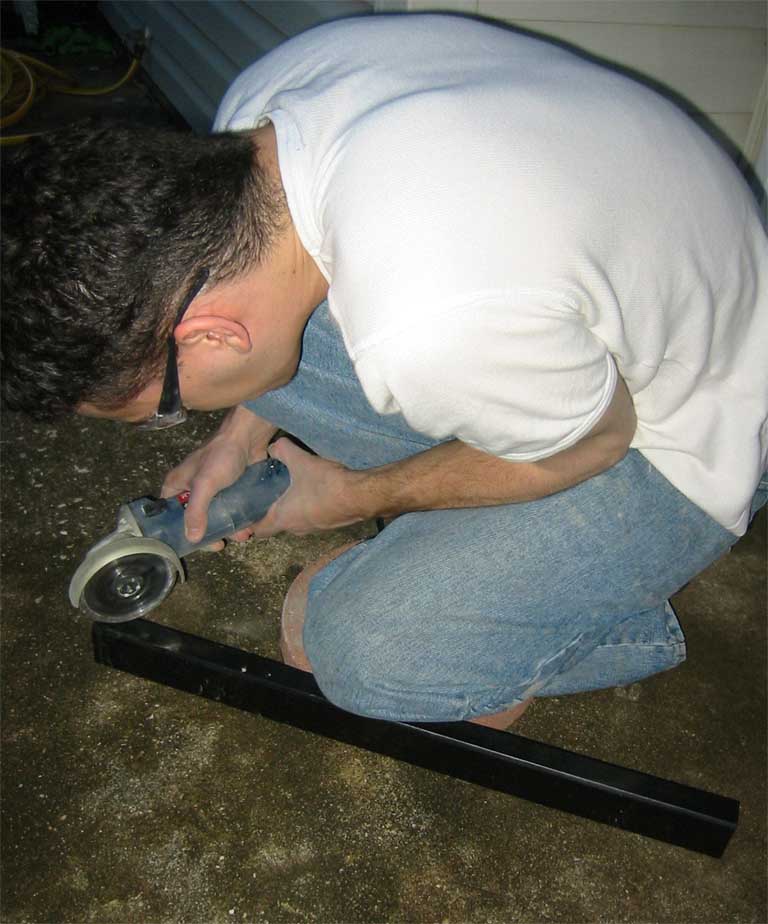
Using a cutoff wheel and an angle grinder, holes for light switches and power outlets were cut in sheets of brushed stainless steel. The edges were then smoothed using a grinder. |
 |
Power was then shut off, the outlets were pulled out, and the stainless was affixed to the wall using silicon. The white protective coating was left on to protect it from scratches. |
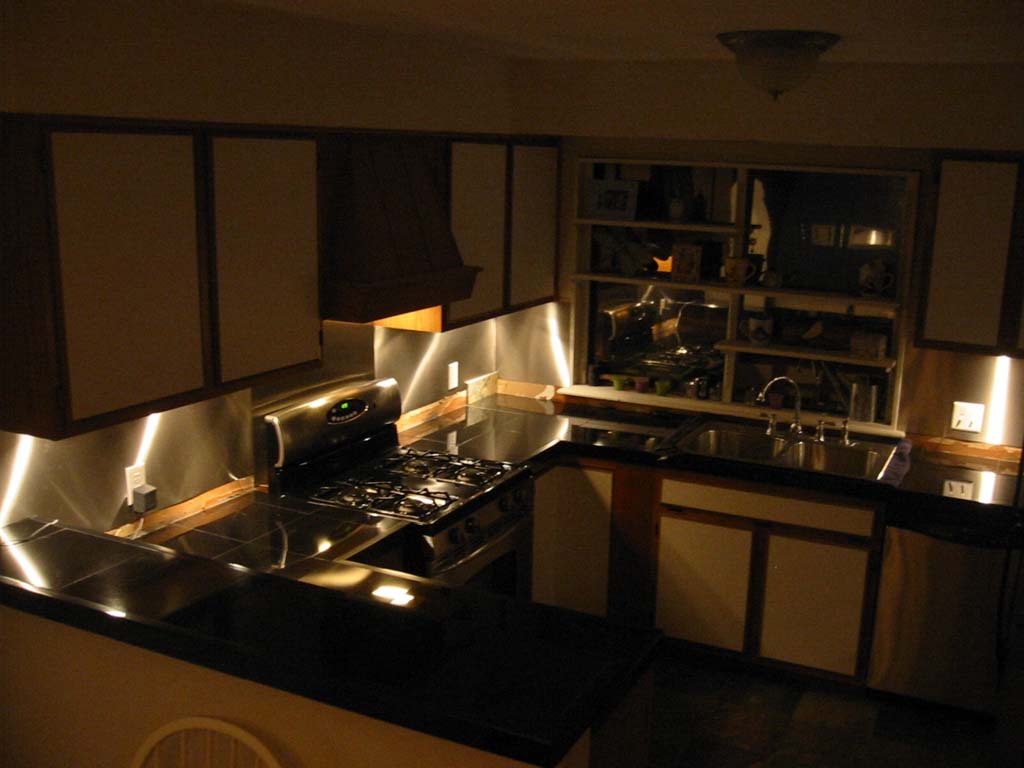 |
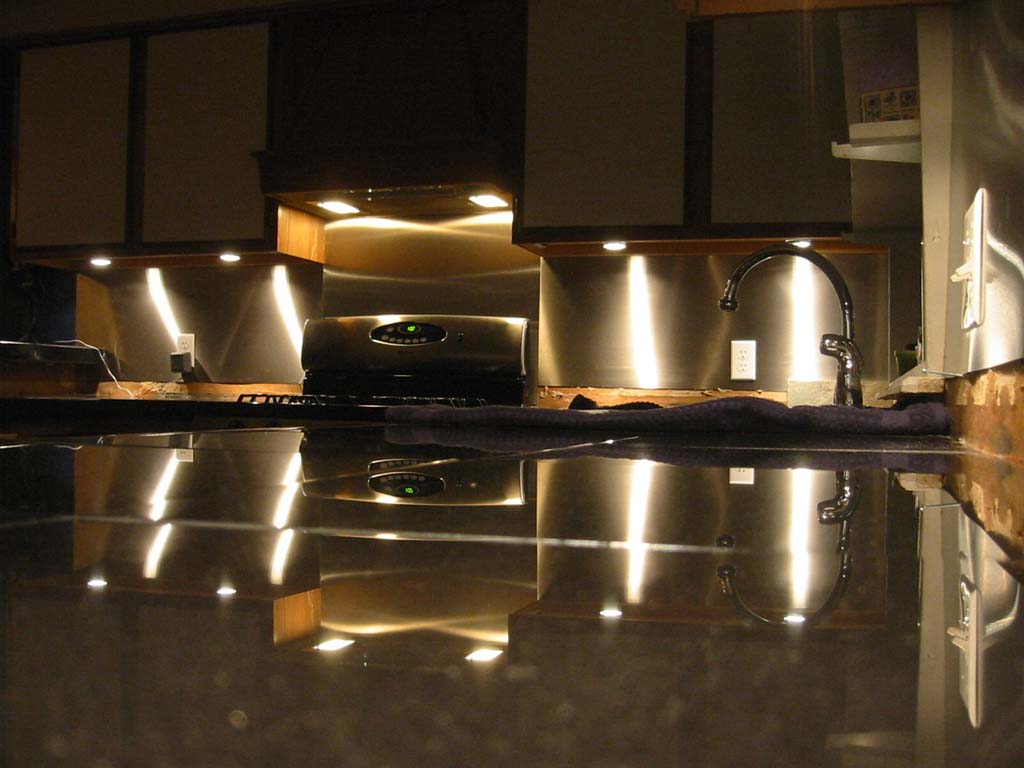
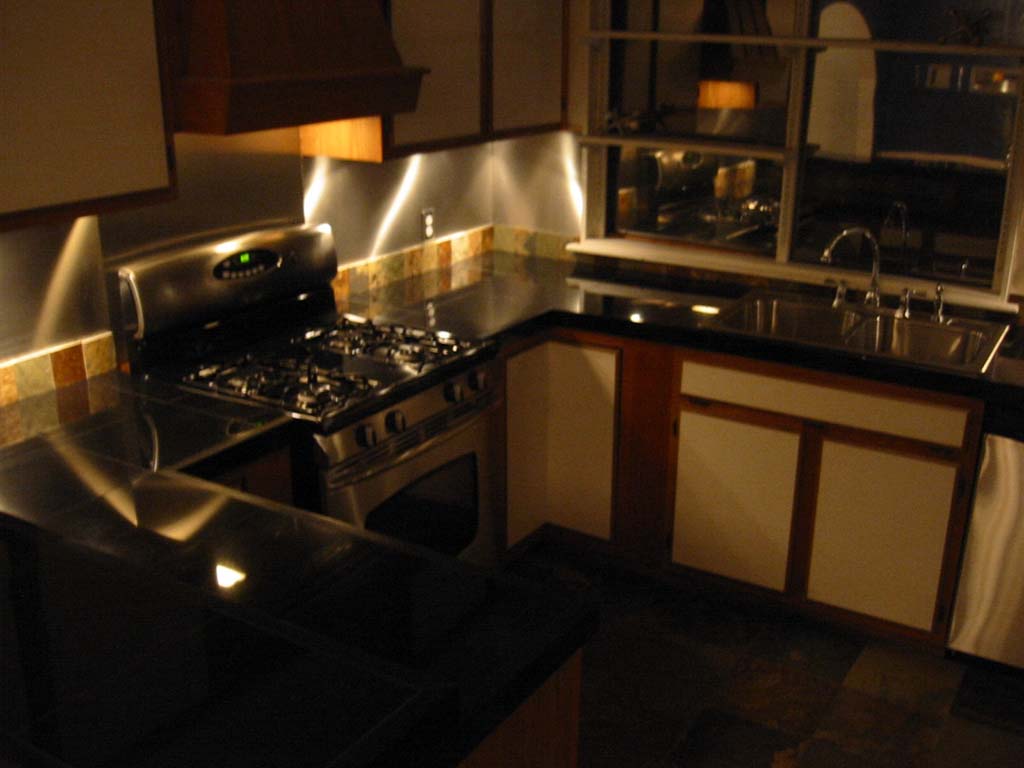
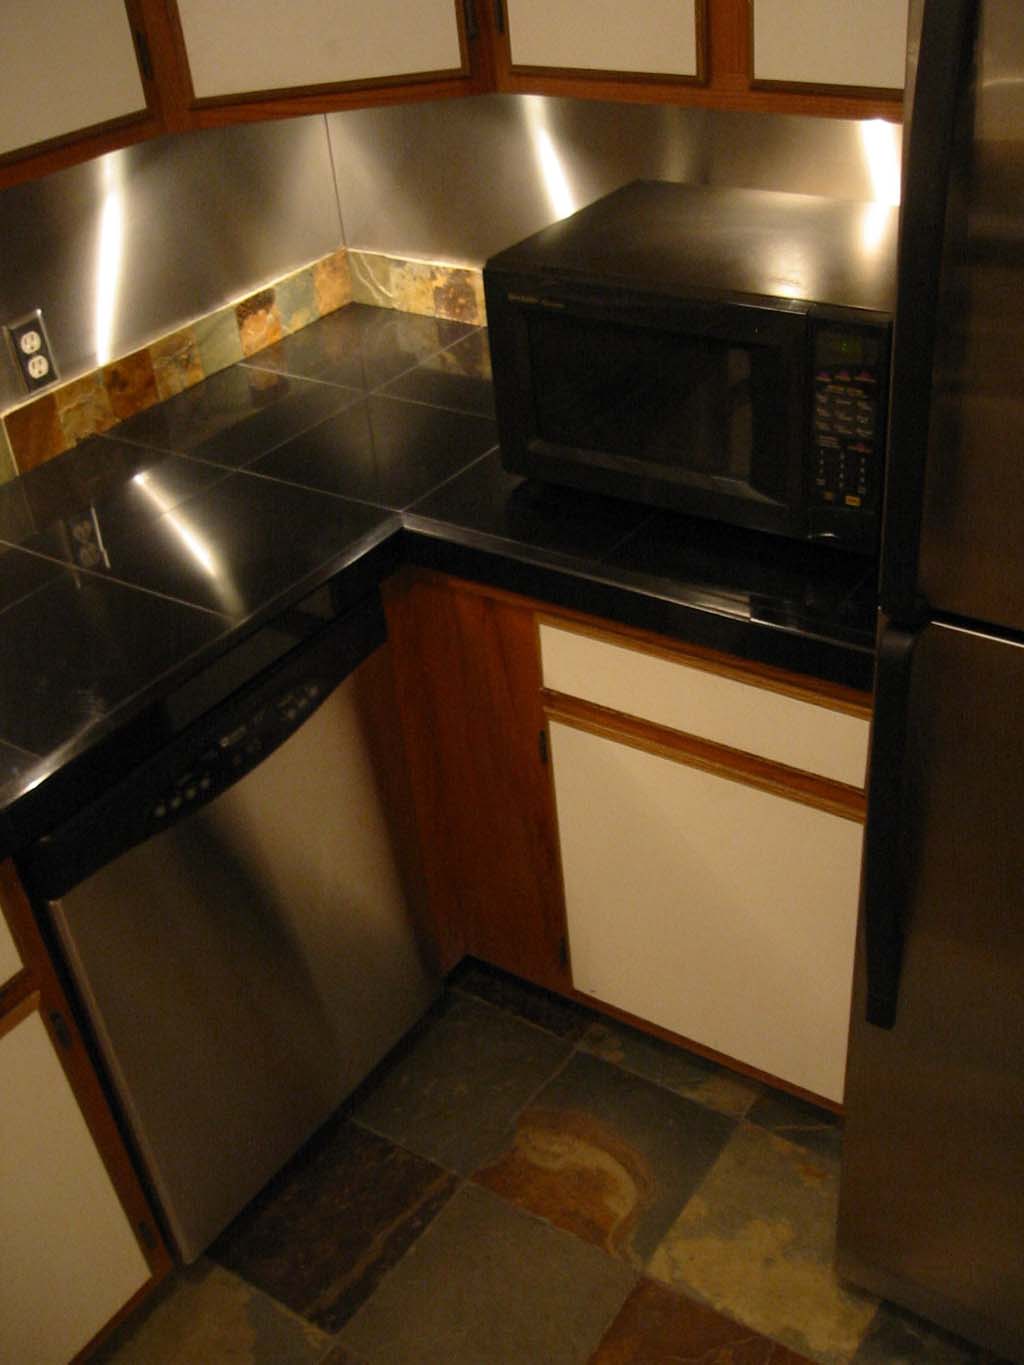
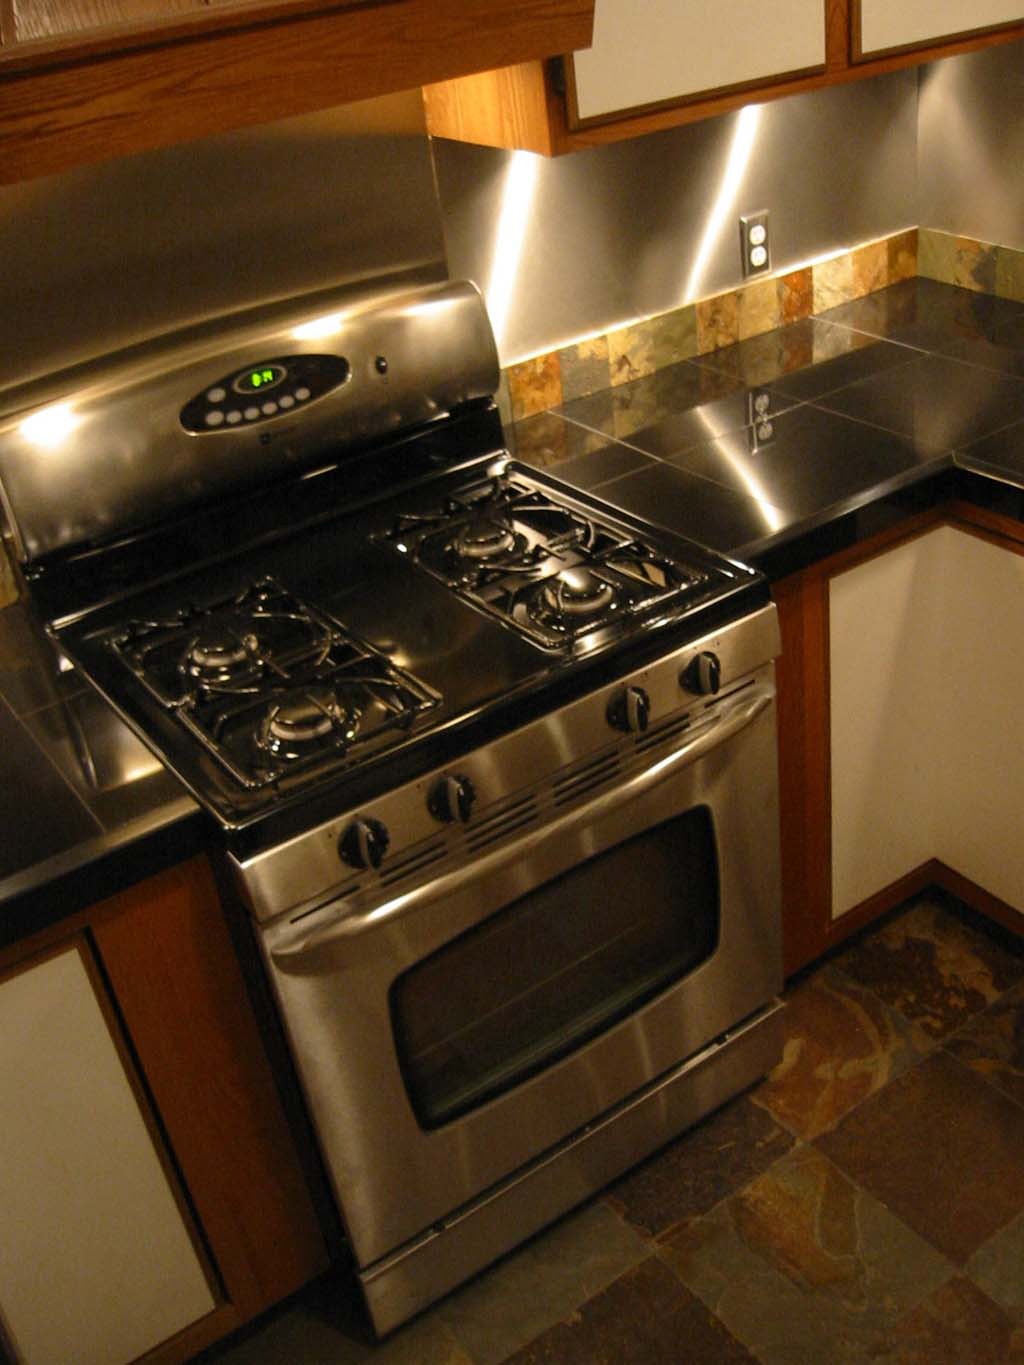
And the results.... |
 |
 |
 |
 |
Phase 2: Black Granite countertops and new stainless sink and faucet
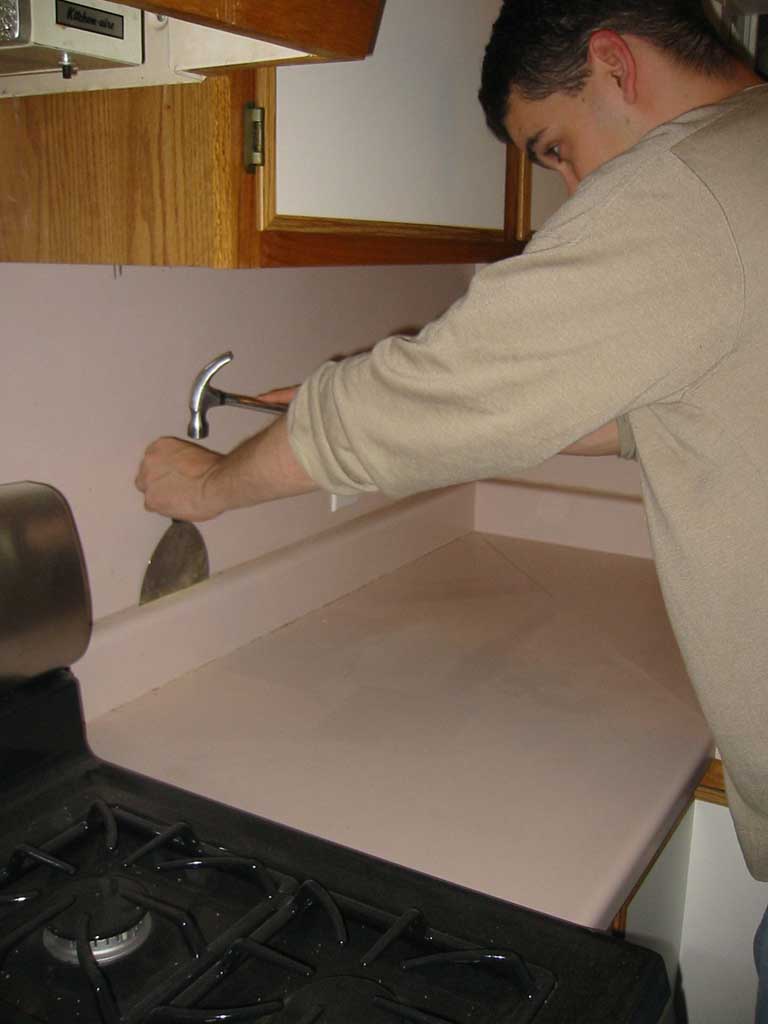 |
Day 1: First we had to pry off the existing 4" tall backsplash lip on the existing formica countertops. I'm not exactly sure when pink formica was in style. |
 |
Day 1: Then we sanded the broken edge smooth using an angle grinder with a sanding disk. |
 |
Day 1: With an angle grinder w/diamond blade, cement backerboard was cut to re-surface the existing countertop. Mortar does not stick to formica, so this will serve as the bonding base. Meanwhile, inside, the formica backsplash on all the walls is being ripped off using prybars. |
 |
Day 1: Using backer screws, the surface of the countertops is covered with backer |
 |
Day 2: The tiles and granite side molding is cut using a diamond blade wet saw. Corners were cut using the bed of the saw tilted at 45 degree angles. |
 |
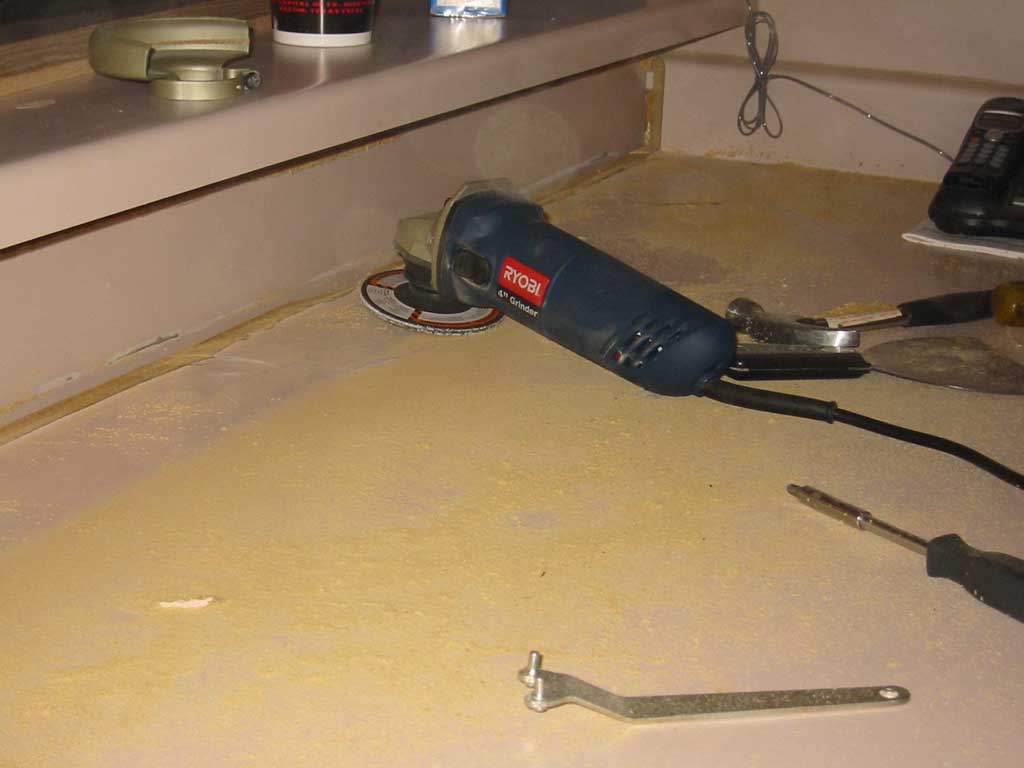
Day 2: The saw we have was not large enough to cut all the way through the thick railing, so the rest was cut by hand using the angle grinder. |
 |
Day 2: Existing bar cut down from 14" to 13" wide using a jigsaw, backed, and tiled out. Pieces are test laid out on the rest of the countertops |
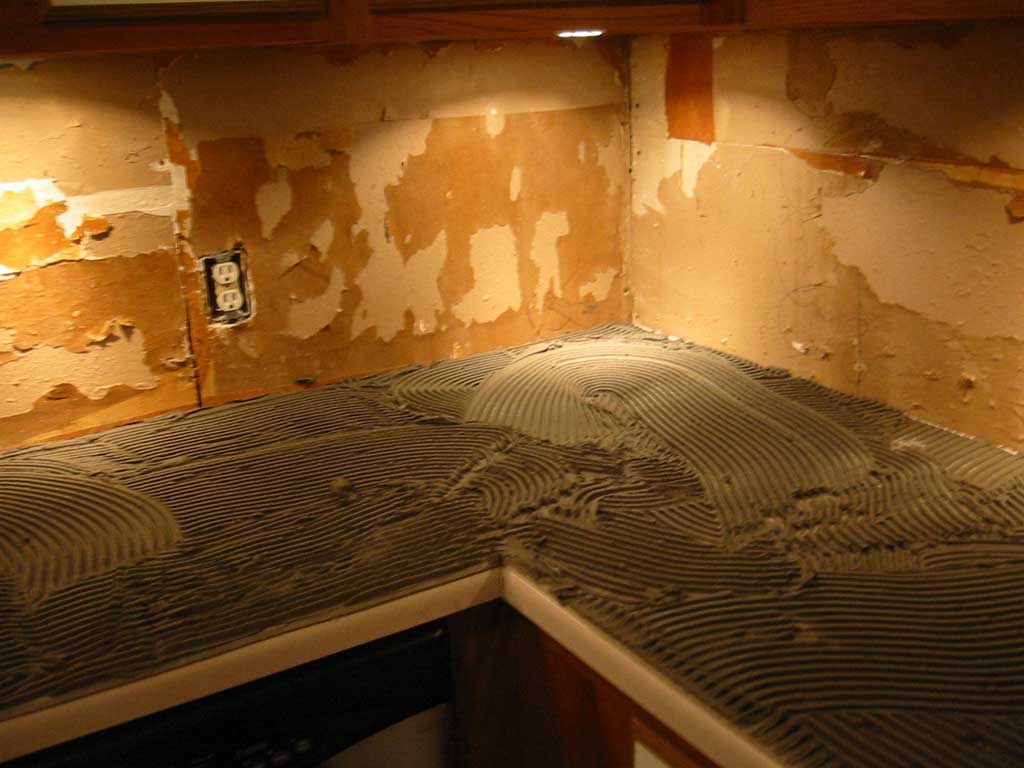 |
Day 2: Once all the tiles for a section were cut, mortar was applied over the backer board covered countertops. |
 |
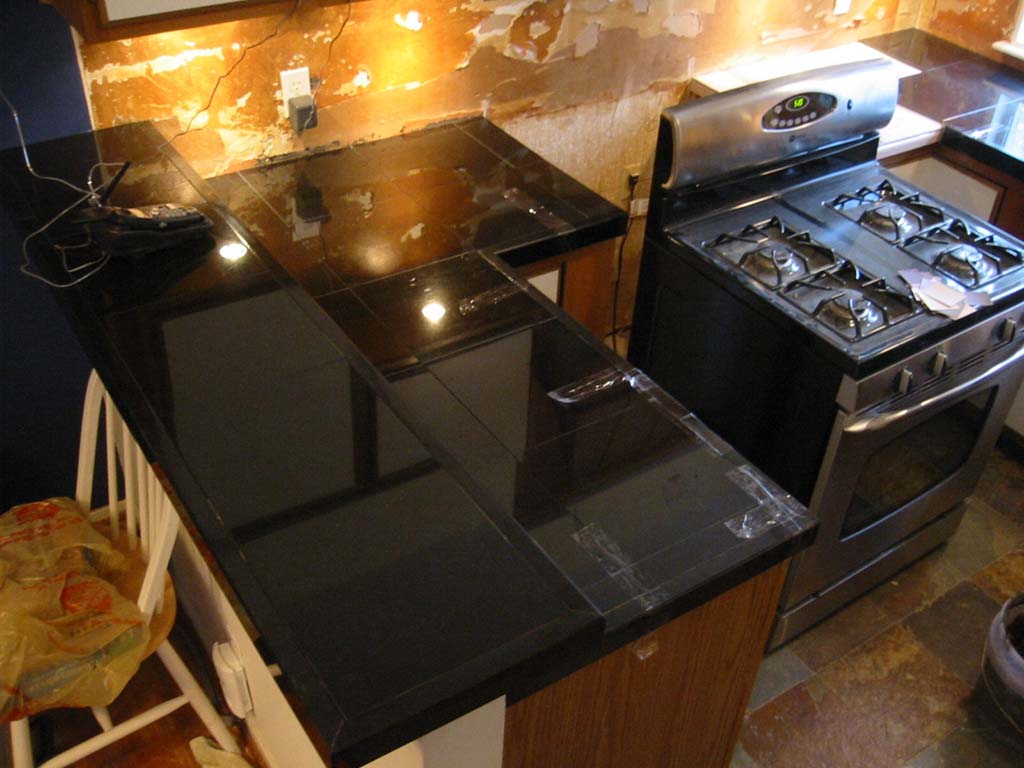
Day 3: The construction zone |
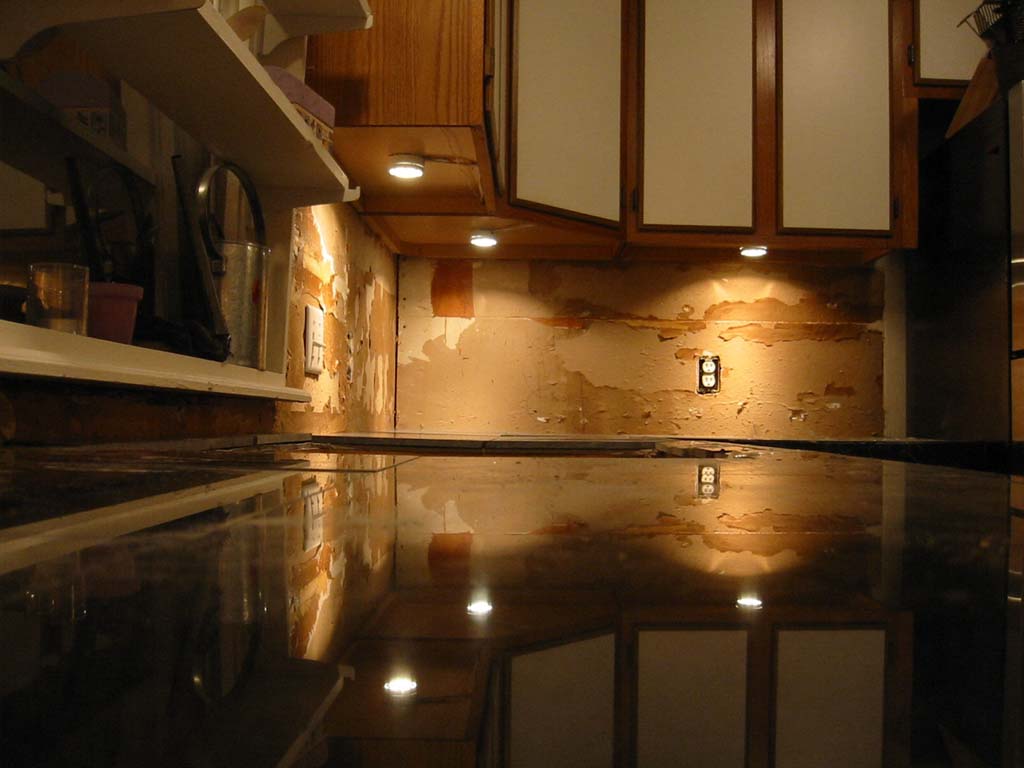 |
Day 3: This shows the reflectivity of the black granite |
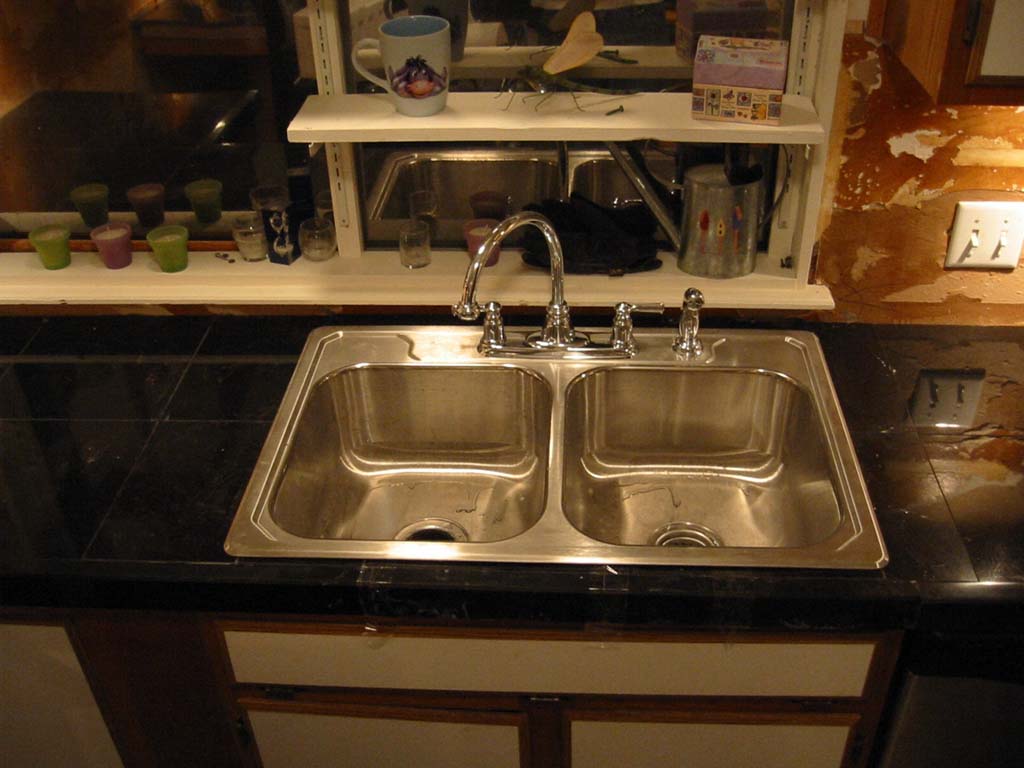 |
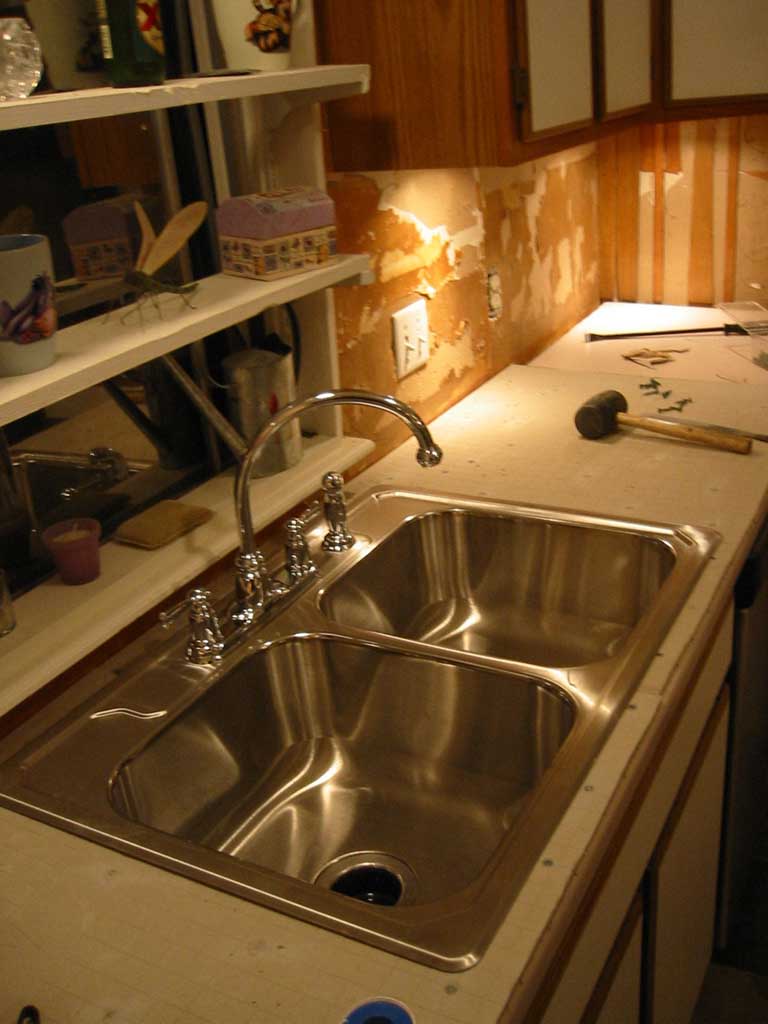
Day 3: The new sink and faucet contrasts nicely with the black granite. |
 |
Specs: The diagram we made to calculate tile needs beforehand |
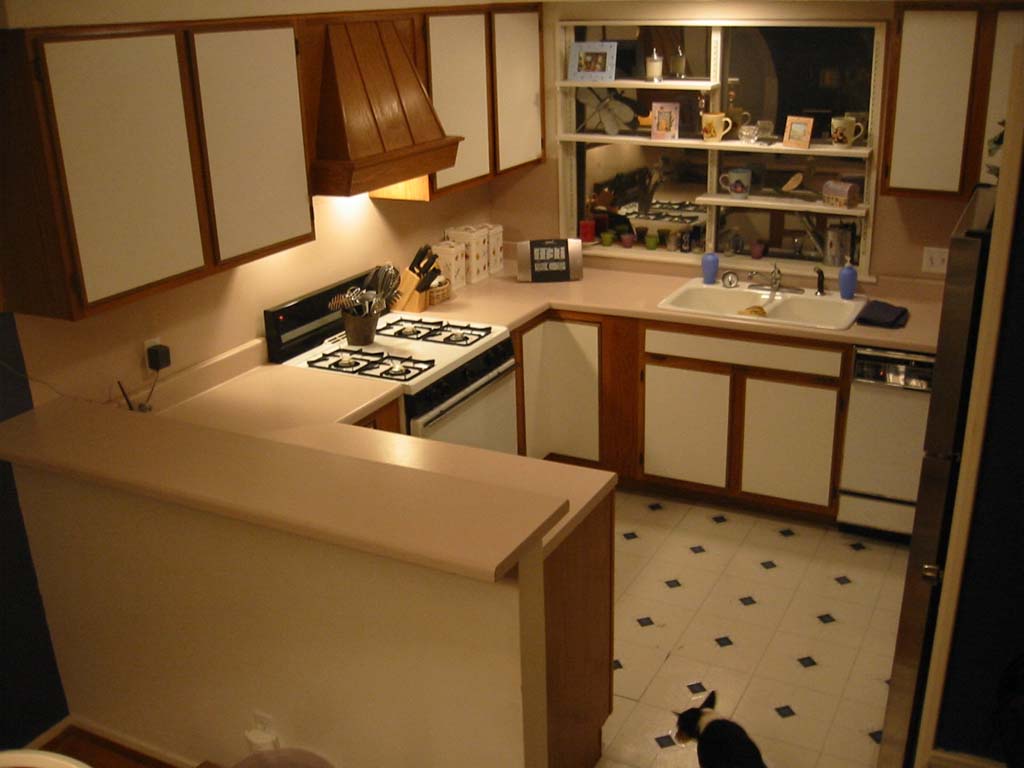
Phase 1: Slate floor and halogen underlighting
|
Day 0: Bone Stock Kitchen. Only overhead lighting, linolium flooring (2
layers, the bottom layer being 30 years old). The dog does a final inspection before the work begins. |
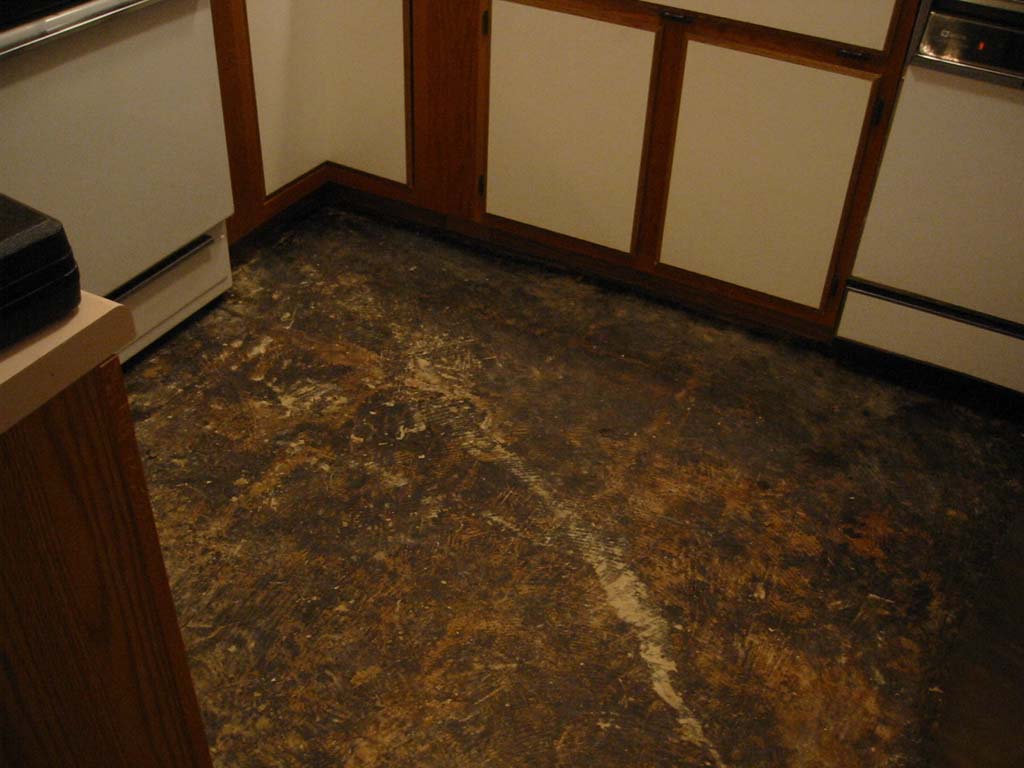 |
Day 1: Floor Ripped up, scraped down to bare concrete. |
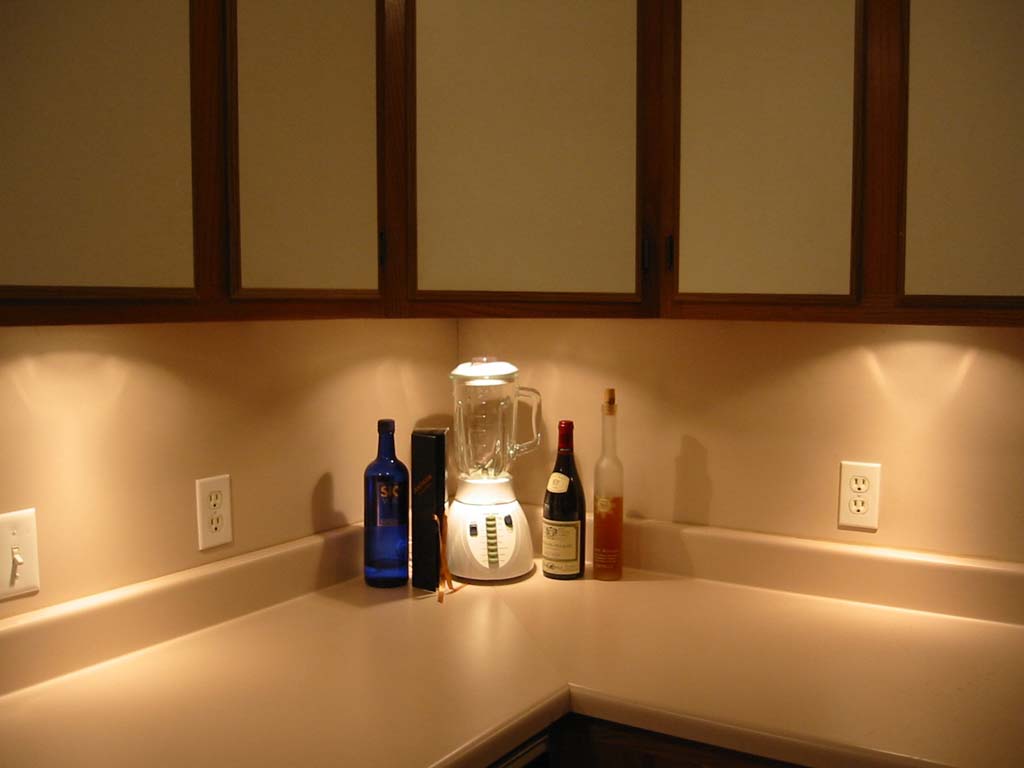 |
Day 1: Halogens installed and tested. 3 way dimmer switch works nicely. |
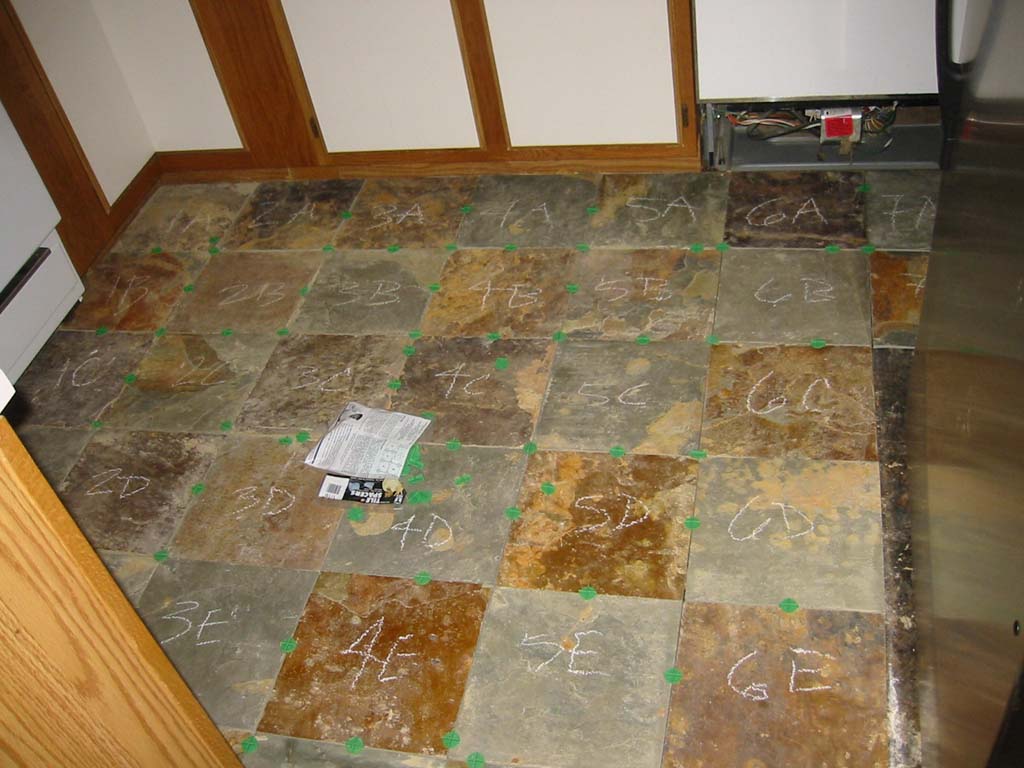 |
Day 2: First halogen install rewired for more stealth. Tiles are labeled for placement and a map is drawn. Fridge is removed, mortar is laid, and 80% of tiles are placed down to set for the night. |
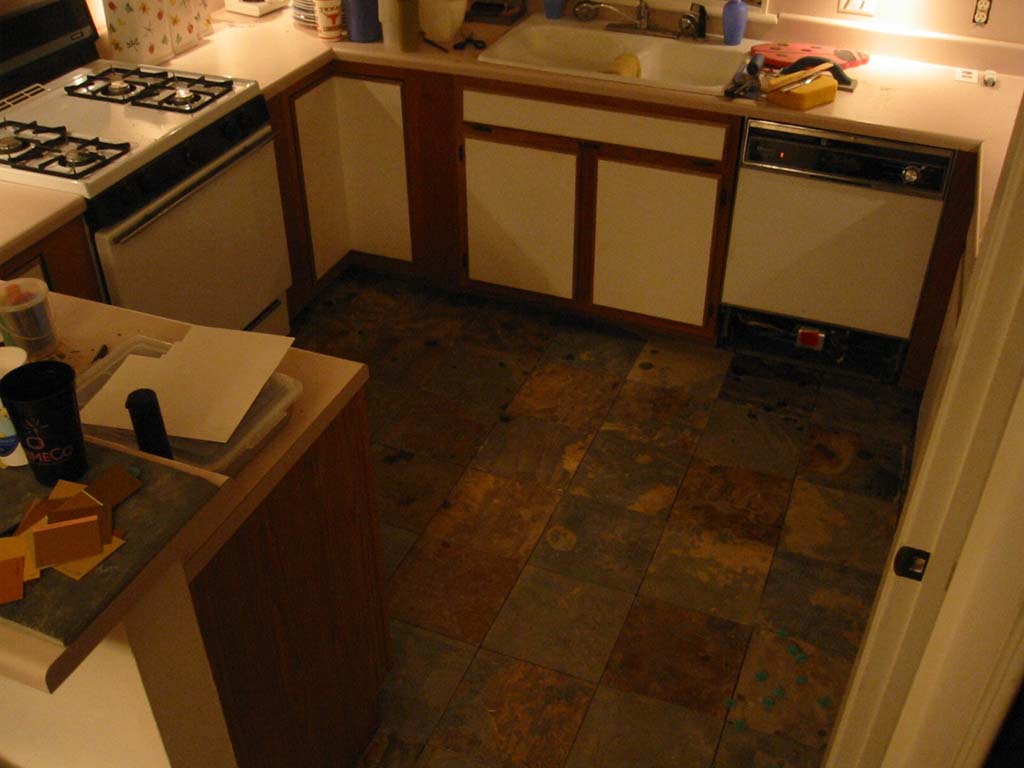 |
Day 3: Last 20% of slate flooring mortared down and setting for the night. |
-jmX 2/19/2004